
“I was skeptical. I’m pretty much sold now.”
Gary Lamb is a San Francisco architect. When his business partner Tim Yep brought iMapper on site, Gary would not trust it until he had checked it against his own tape. Their practice now scans the as-built and starts designing from the measured data.
Free · one-to-one · bring your own project
What changed for Gary and Tim’s practice?
These are the results Gary and his partner Tim report on their own projects. They are their experience, not general performance promises.
86,000 sq ft in under six days
A four-storey building plus its garage, taken on as the new building architect with as-builts ten years out of date. Tim scanned the whole of it in under six days. Measured by hand, he says, the same survey would have taken any team two to three weeks.
Checked against the tape
Tim measured a wall in the app at 10 ft 3/32 in, then taped it on site: 10 ft 1/16 in. Ceiling heights came back the same. After that, he says, the tape measure stayed in the bag.

No scribbles, no forgotten photos
Gary used to carry two tape measures, a camera, pens and paper, and still drive back for the shot he missed. Now, he says, it measures the space and takes the photos, and nothing gets forgotten.
Figures reported by Gary and Tim for their own projects, scanning two or three days a week.
What was the process before?
You’d bring all of your pens, all of your tape, cameras, any excess batteries. Then you inevitably forgot something. You’d get on site, take all the measurements, write all the dimensions down, get back that afternoon and go: I forgot something. So you have to come back the next day.
From a room scan to a usable drawing
Three steps from site measurement to the deliverable you need.
Capture a horizontal or vertical slice
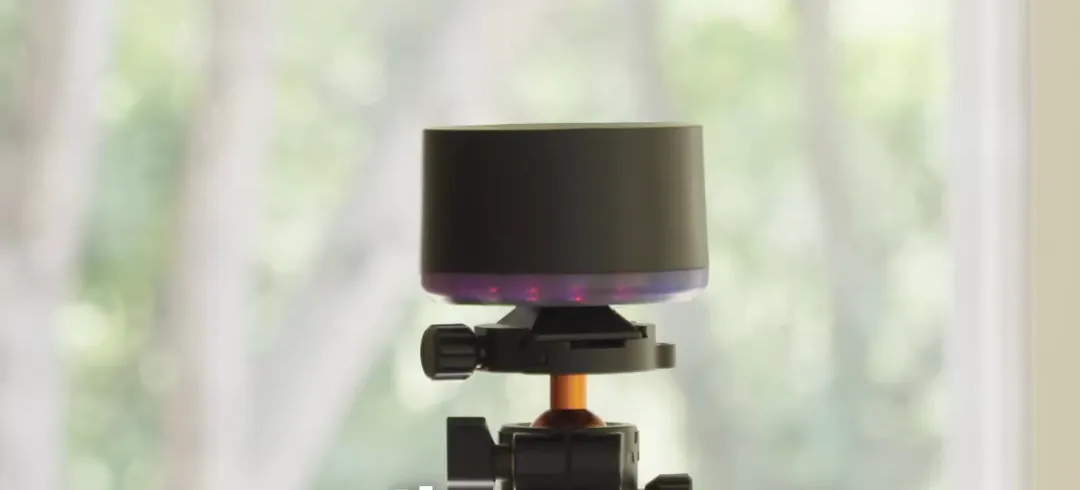
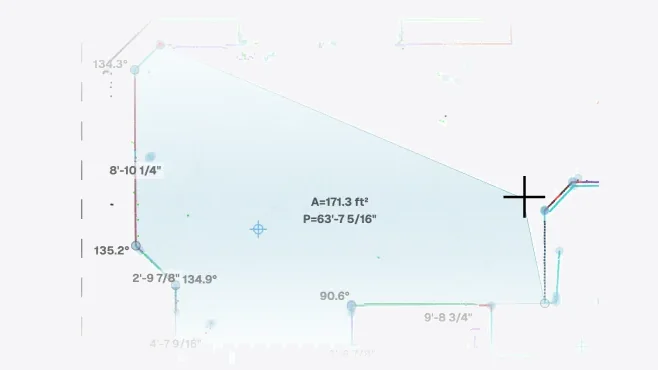
Start from the device or the Connect app. iMapper rotates through 360 degrees, measures a plane, and takes reference photos. A horizontal scan captures a floor-plan slice. Turn the tripod head to 90 degrees for a section or elevation slice.
One scan creates one XML file with measured points and photos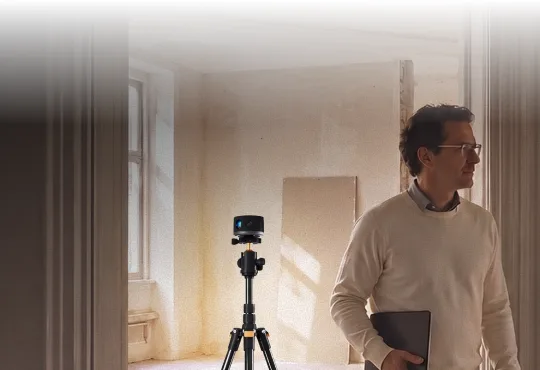
Upload and assemble the scans
Racer 3+ stores scans in internal memory. Transfer them by USB or sync them to the account with the Connect app. Add the files to a project and the platform assembles overlapping scans automatically. If two rooms share no visible zone, you can move and rotate the scan into place by hand.
Shared zones between scans are what make automatic assembly work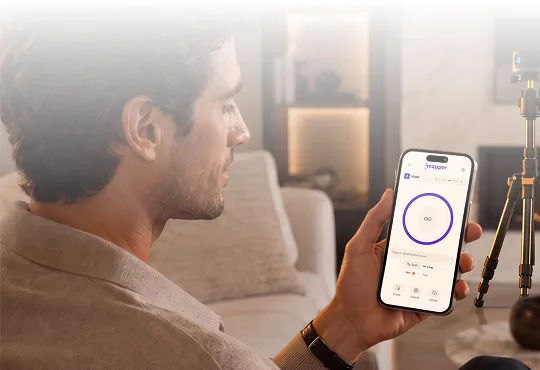
Choose the deliverable you need
Draw room areas in the platform, export the measured points as DXF and trace them in your CAD tool, or generate an automatic floor plan and edit its walls and openings. Supported deliverables include DXF, IFC, STL, PDF, and trade-specific formats.
The final drawing is completed in the platform or your usual CAD tool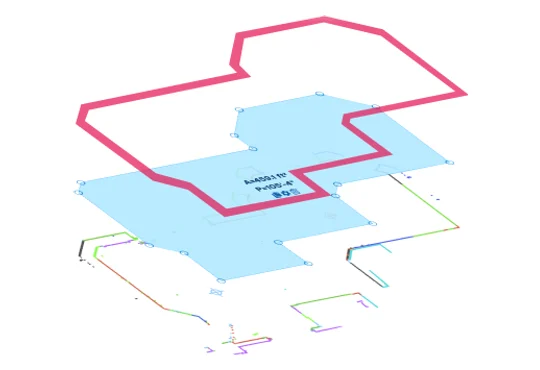
Generate walls, then review the plan
Select the interior scans for one level and Autoplan generates the walls. Review the walls, doors, windows and thickness, then export.
The scan opens in AutoCAD as named layers you trace over
Assemble the scans, draw the rooms or generate the plan, then export one DXF. It opens with File > Open, no plugin, and every element lands on its own layer. This is the file Tim opens in AutoCAD before a wall is drawn.
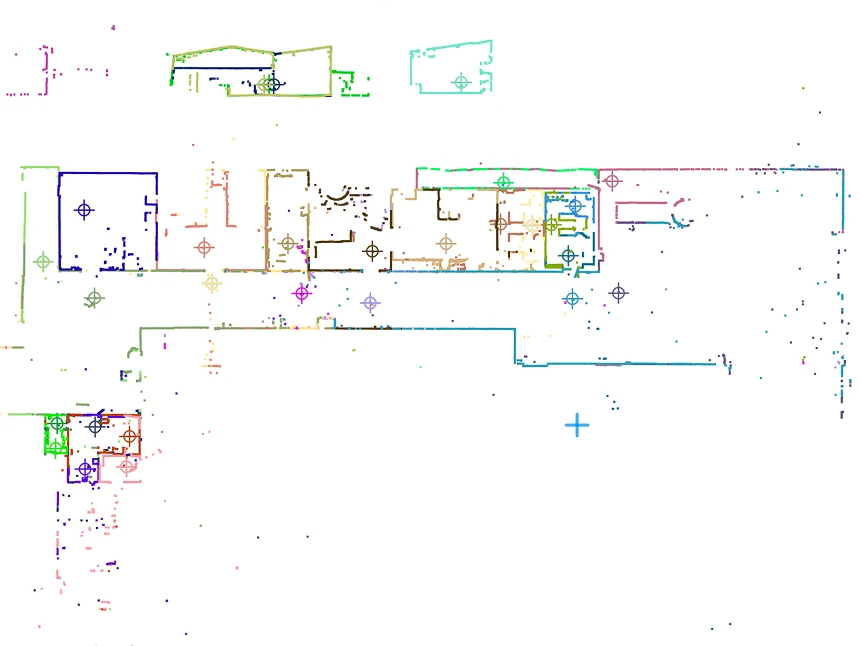
Measured points on their own layer. Every laser point lands on the Pts layer, so you trace walls over real geometry instead of typing dimensions.
Rooms, doors and windows kept apart. Areas you draw in the platform arrive on the Rooms layer, doors as swing arcs, windows as rectangles.
The generated plan, if you used Autoplan. Walls and openings from the automatic floor plan come in on the Floorplans layer.
Scan positions included. The Mapper layer marks where the device stood, so you can relate any point back to its reference photos.
Your unit, your scale. Export in feet, inches, metres, centimetres or millimetres, and AutoCAD opens the file at the right scale.
Same project, other tools. The same DXF opens in SketchUp, Archicad and Vectorworks. Revit takes IFC, with door and window families.
Is this the right workflow for you?
iMapper measures a room in 360-degree slices — horizontal for the plan, vertical for heights and sections — and you finish the drawing in 2D or 3D in your own tool. It is not a textured 3D scanner.
It may fit if:
It may not fit if:
Questions worth answering before a demo
What does one scan capture?
How accurate is it, really?
Does it work with AutoCAD and Revit?
Can someone else on my team run the scans?
What about photos and notes?
What happens if scans do not assemble automatically?
What if I do not want to draft the finished plan myself?
What happens on the call?
See the workflow on your own project.
Get a one-to-one walkthrough of the device, the platform, and the export path that matches your drawing process.
Referred by Gary Lamb · Architect, AIA · San Francisco