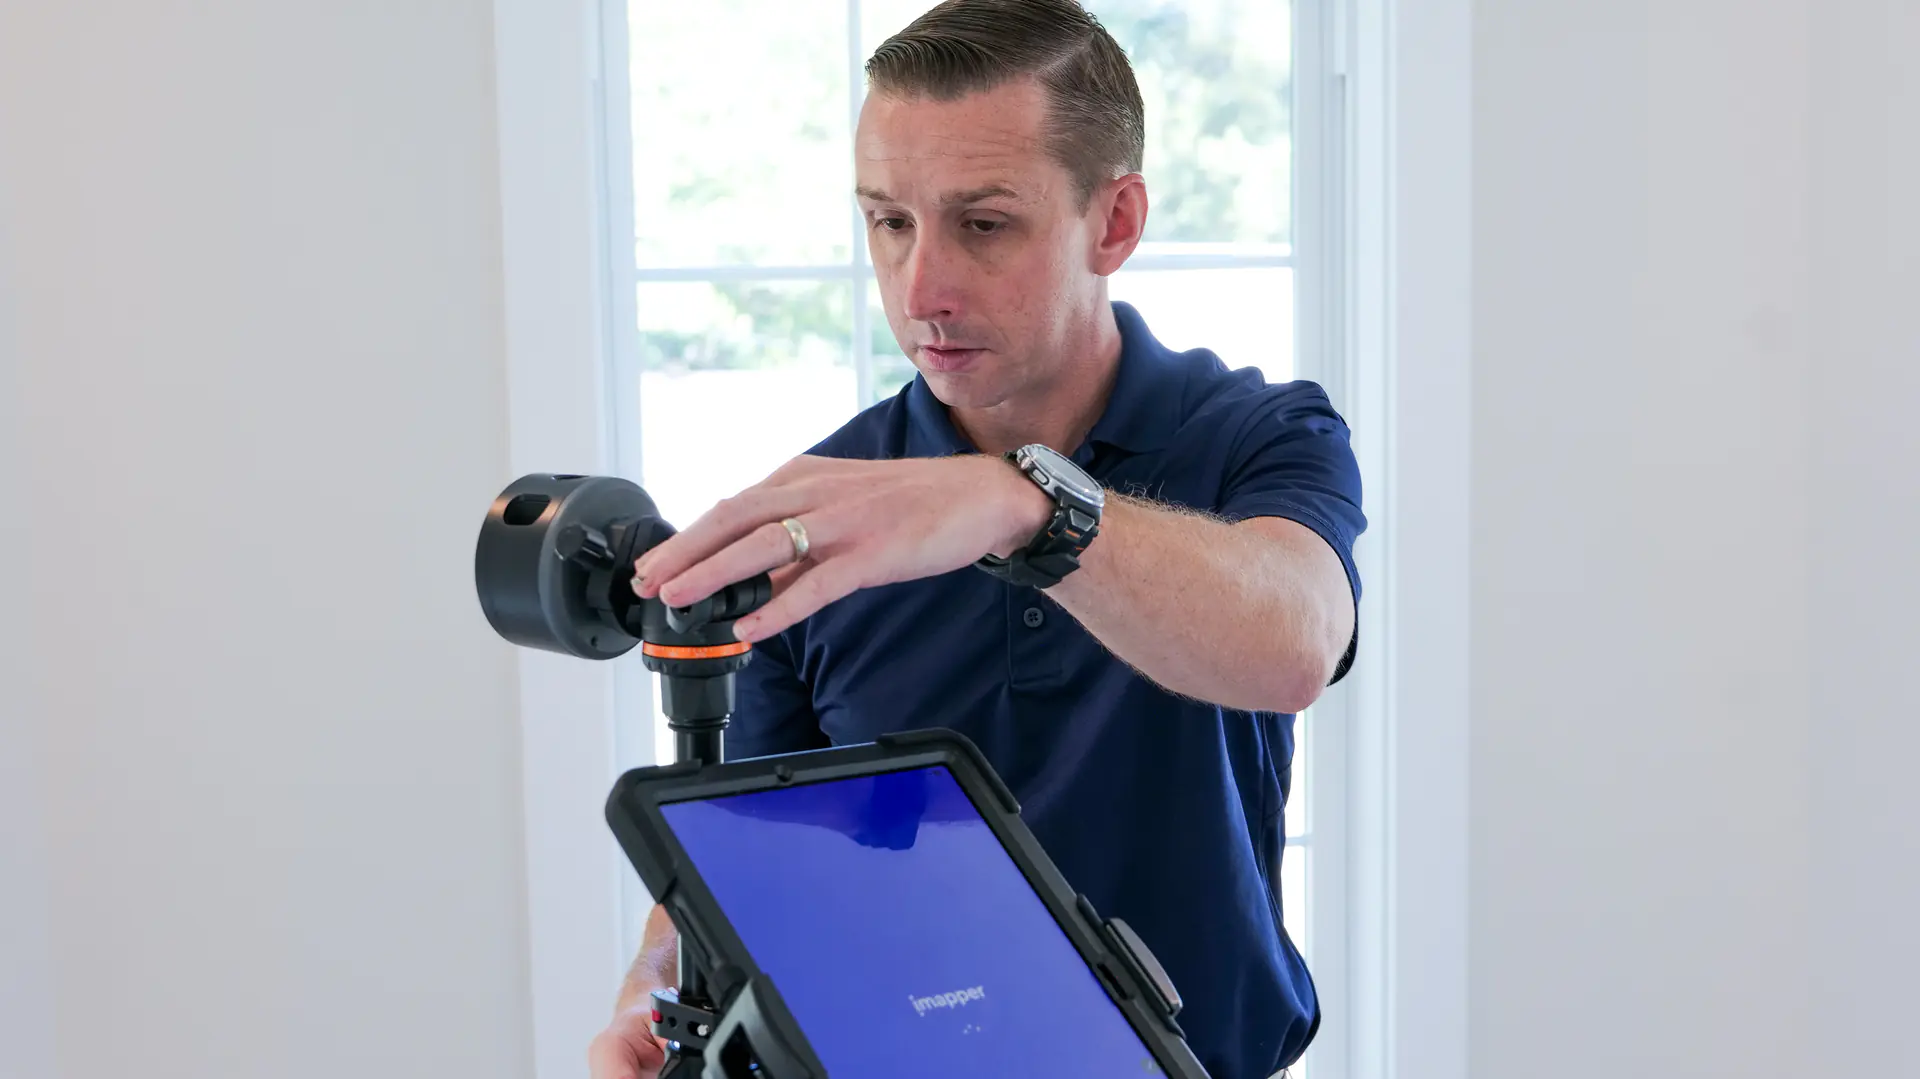
“I climbed up every tree. iMapper was the best solution.”
After 16 years flipping houses, Jonathan compared iGuide, Matterport, the 3D Disto, and iPhone LiDAR before choosing iMapper. His team now uses its measured scans as the starting point for permit drawings and cabinet layouts in SketchUp.

What changed for Jonathan’s team?
These are Jonathan’s reported results on the small houses his team rehabs. They are his experience, not general performance promises.
In and out in half an hour
Jonathan reports 20 to 30 minutes on site for the small houses his team rehabs. Their previous tripod-laser process took 1.5 to 2.5 hours.
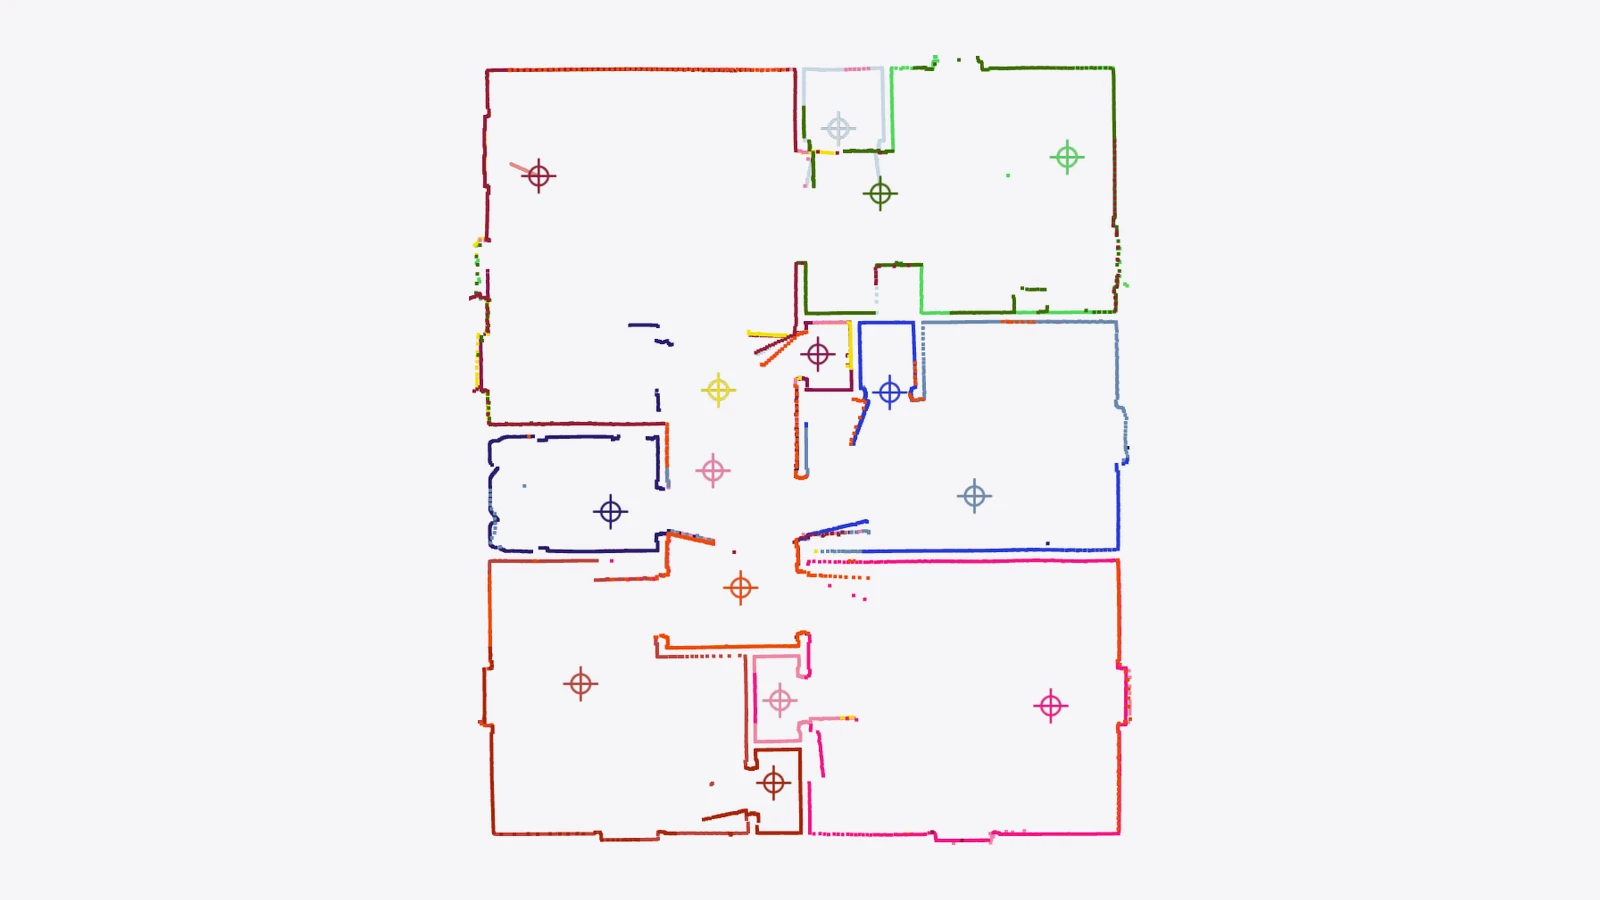
Clean assembly for his crew
With doors open and a line of sight into the next room, Jonathan says his connected scans assemble without errors.
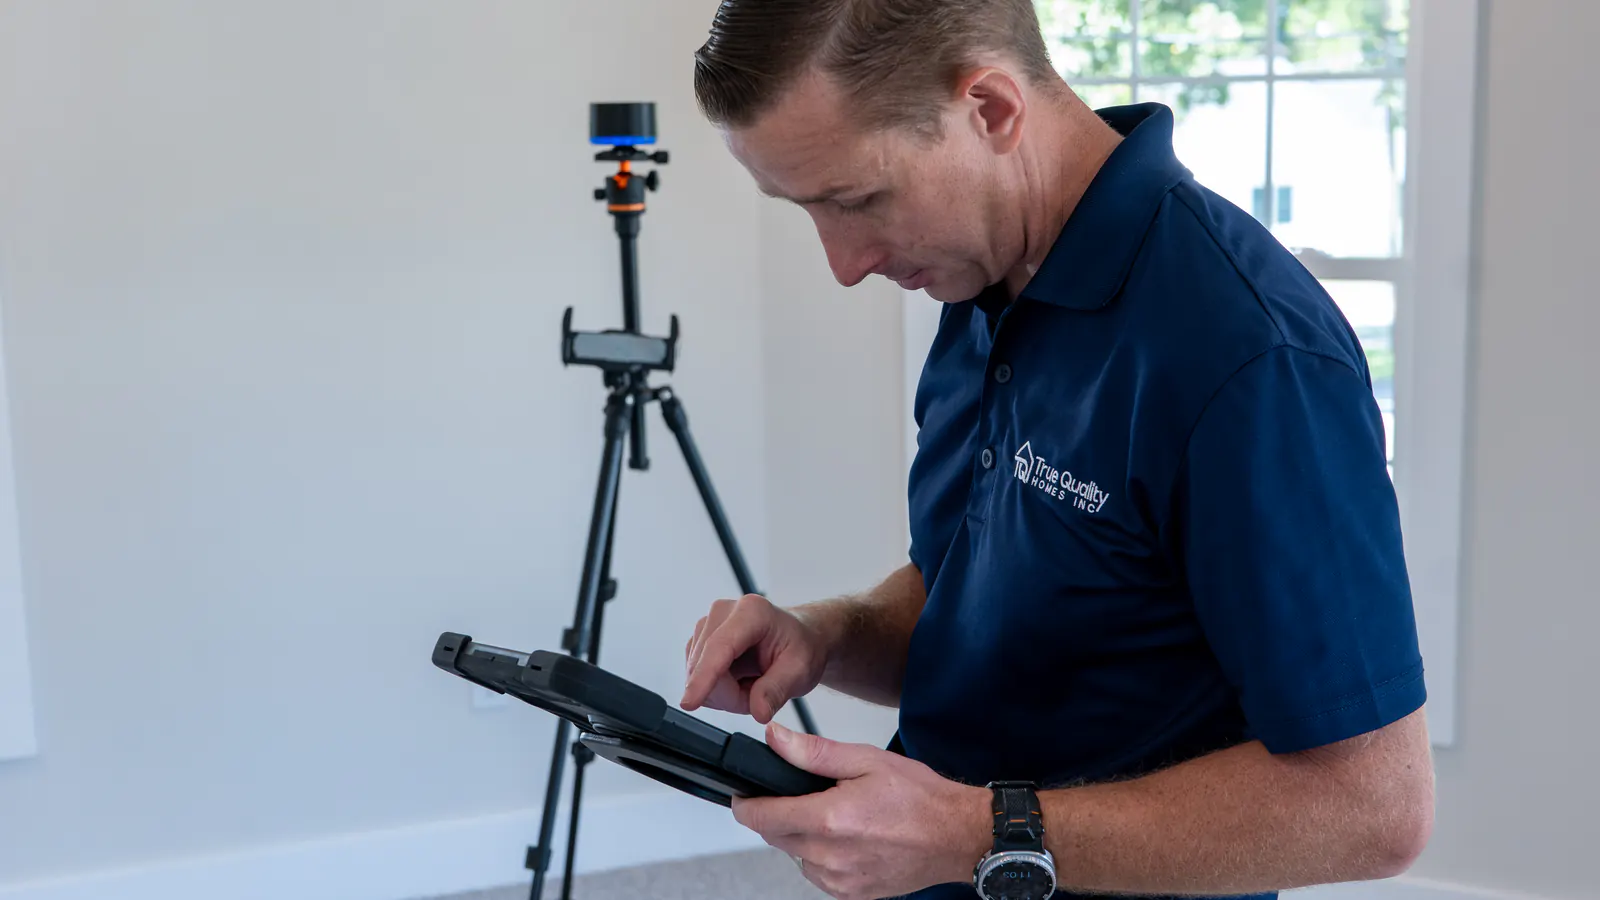
One walkthrough for his team
After one walkthrough in the app, Jonathan says team members can scan on their own while the office starts from the uploaded project data.
Figures reported by Jonathan for his own small, heavy-rehab houses.
What was the process before?
What we were finding is that our measurements were either inaccurate when we got back. We would go install cabinetry and those measurements could be off one, two, three inches, and we would obviously have issues.
From scanning the property to a usable drawing
Three steps from site measurement to the deliverable you need.
Scan the property, room by room
Set iMapper on its tripod and press once. It turns a full 360°, measures a slice of the space and photographs the room as it goes. Doors open, one or two scans per room, and the whole property is covered. Heights and sections come from the same scan taken vertically.
Each scan is one slice of the space. The slices are stitched together in the next step.
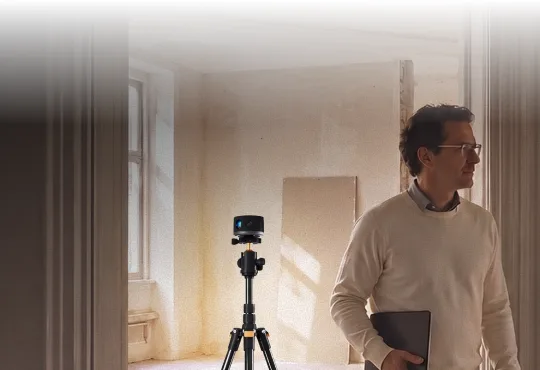
Upload, and the platform stitches the slices
The Connect app uploads each scan to your account as you go. Add them to a project and the platform assembles the overlapping slices into one floor plan, with every scan’s photos beside it.
Scans that see into each other’s rooms assemble on their own.

Choose the deliverable you need
Draw the room areas in the platform, export the measured points as DXF and trace over them in your CAD tool, or let Autoplan generate the walls and edit them before export. DXF, IFC, STL, PDF and trade-specific formats are all supported.
The drawing is finished in the platform or in your usual CAD tool.
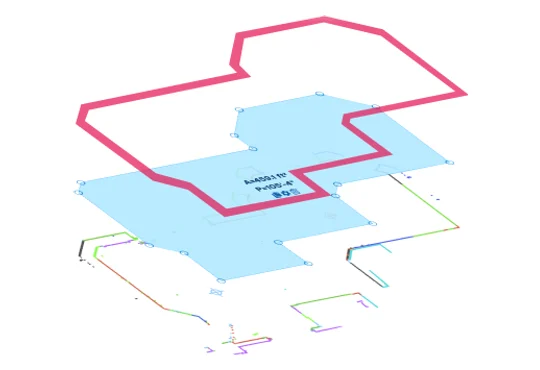
Generate walls, then review the plan
Select the interior scans for one level and Autoplan generates the walls. Review the walls, doors, windows and thickness, then export.
The 3D model opens in SketchUp as groups you can actually edit
Scan the space, stitch the scans, generate the floor plan, then export the 3D model straight to SketchUp. Openings and heights arrive measured, not approximated, so what you draw over is the real room. This is what Jonathan builds his permit plans and cabinet layouts on.
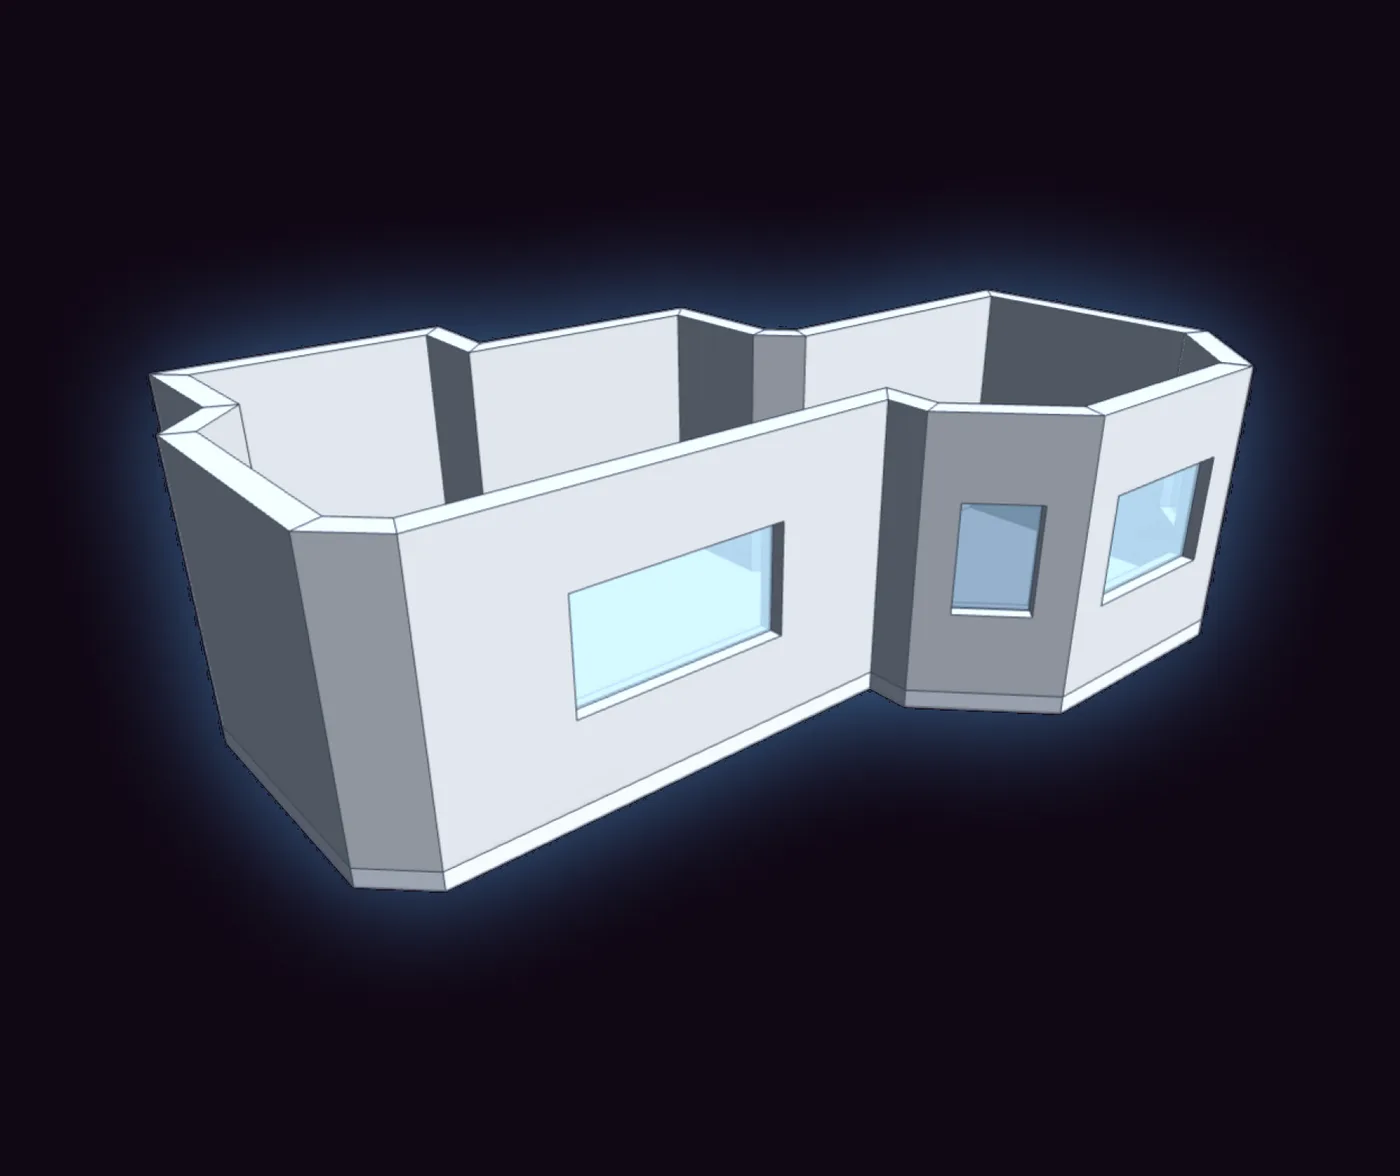

Windows at their real sill height. Each opening sits at the height you measured on site, not at a default.
Doors cut where they actually are. Position and size come from the scan, so the openings are real, not sketched.
Walls at their true height. The model arrives dimensionally correct rather than as a flat extrusion.
Editable groups, not one welded blob. Floor, walls, partitions and openings each arrive on their own layer.
Doors and windows as components. One definition per size, so changing one changes them all.
3D preview before you download. Check the model in the export dialog rather than after the import.
Is this the right workflow for you?
iMapper measures a room in 360-degree slices — horizontal for the plan, vertical for heights and sections — and you finish the drawing in 2D or 3D in your own tool. It is not a textured 3D scanner.
It may fit if:
It may not fit if:
Questions worth answering before a demo
What does one scan capture?
How accurate is it?
Does it work with SketchUp and other CAD tools?
What happens if scans do not assemble automatically?
What can the Connect app do?
What if I do not want to draft the finished plan myself?
What happens on the call?
See the workflow on your own project.
Get a one-to-one walkthrough of the device, the platform, and the export path that matches your drawing process.
Referred by Jonathan Weathers · True Quality Homes Inc, North Carolina